Whether they dare to admit it or not, every hairdresser has had the scalp bleach fear at some point in their career. It’s no wonder when the spectrum of things that could go wrong ranges from the fixable (insufficient lift) to the liable (burns). We have all felt that stomach-dropping fear when we aren’t sure if our experience with a technique is extensive enough to complete the client in front of us. With the right know how, though, stylists can change this anxiety into confidence and start to enjoy creating what is arguably one of the most eye-catching looks available for a client. Not only can you achieve head-turning blondes, but it can also lay a foundation for creative pastels and vivid colours. In our tutorial available now on Leaf Academy, Sarah Keane of SLK Hair takes you through the techniques needed to create the perfect Scalp Bleach and banish that fear forever!
The most important thing to do before starting your bleach application is to analyse the hair, as the thicker the hair the higher the strength developer is needed to make sure it saturates deep enough into the strand. Getting a comprehensive history of the hair is also essential, though it may feel like an interrogation; your client’s lack of technical colour knowledge may lead them to omit vital information that could hinder your lift or worse – chemically react! Sarah learned the hard way that strand tests on every bleach service client are crucial, as well as a thorough consultation (including a skin test for possible toner allergies).
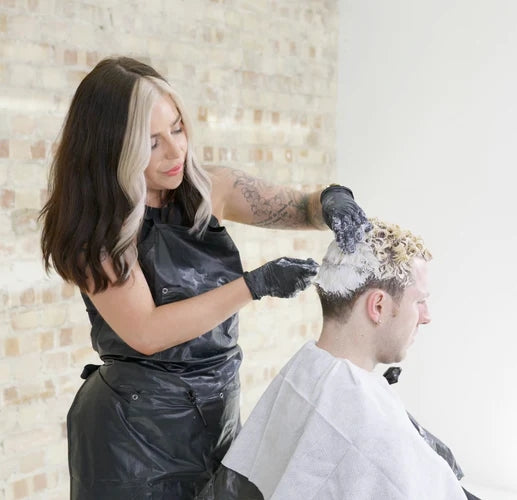
Working in the right order will ensure you get an even lift, so start with the mid-lengths and ends first. Natural heat from the head will speed up the development time so roots should be done after the ends have had time to lift. This service can take a long time to complete so it’s important to start at the back in case you need to shampoo areas that have already developed. In the tutorial Sarah works on short hair, so starts underneath the crown with a finger application technique. The area around the hairline is left until last, as this hair tends to be finer, and in the case of a short cut – much closer to the scalp. Sarah recommends working quickly to guarantee an even lift, not spending too much time on one section.
Working cleanly will help ensure bleach is not transferred onto unwanted areas, so wiping excess product from your gloves/brush/workstation is advised. Every stylist has their own preference for product thickness but using a paste-like consistency is best for this kind of application to avoid drips and an uneven lift.
After completing your Scalp Bleach your client will need aftercare advice, especially if you want them to be a walking advertisement for your talents. This will also create retail revenue opportunities for you as you recommend the best products to keep their blonde looking fresh and healthy. If they are into heat styling, you can recommend a good quality heat protector and advise to keep the heat to a minimum on sensitised areas. Educating your clients on aftercare will help you in the long run and gives you credence as a stylist, whilst empowering your clients to make better choices to maintain the best looking blonde!
Click the link below to watch a FREE Tutorial on Leaf Academy. Sarah Keane of SLK Hair takes you through the techniques needed to create the perfect Scalp Bleach and banish that fear forever!


