

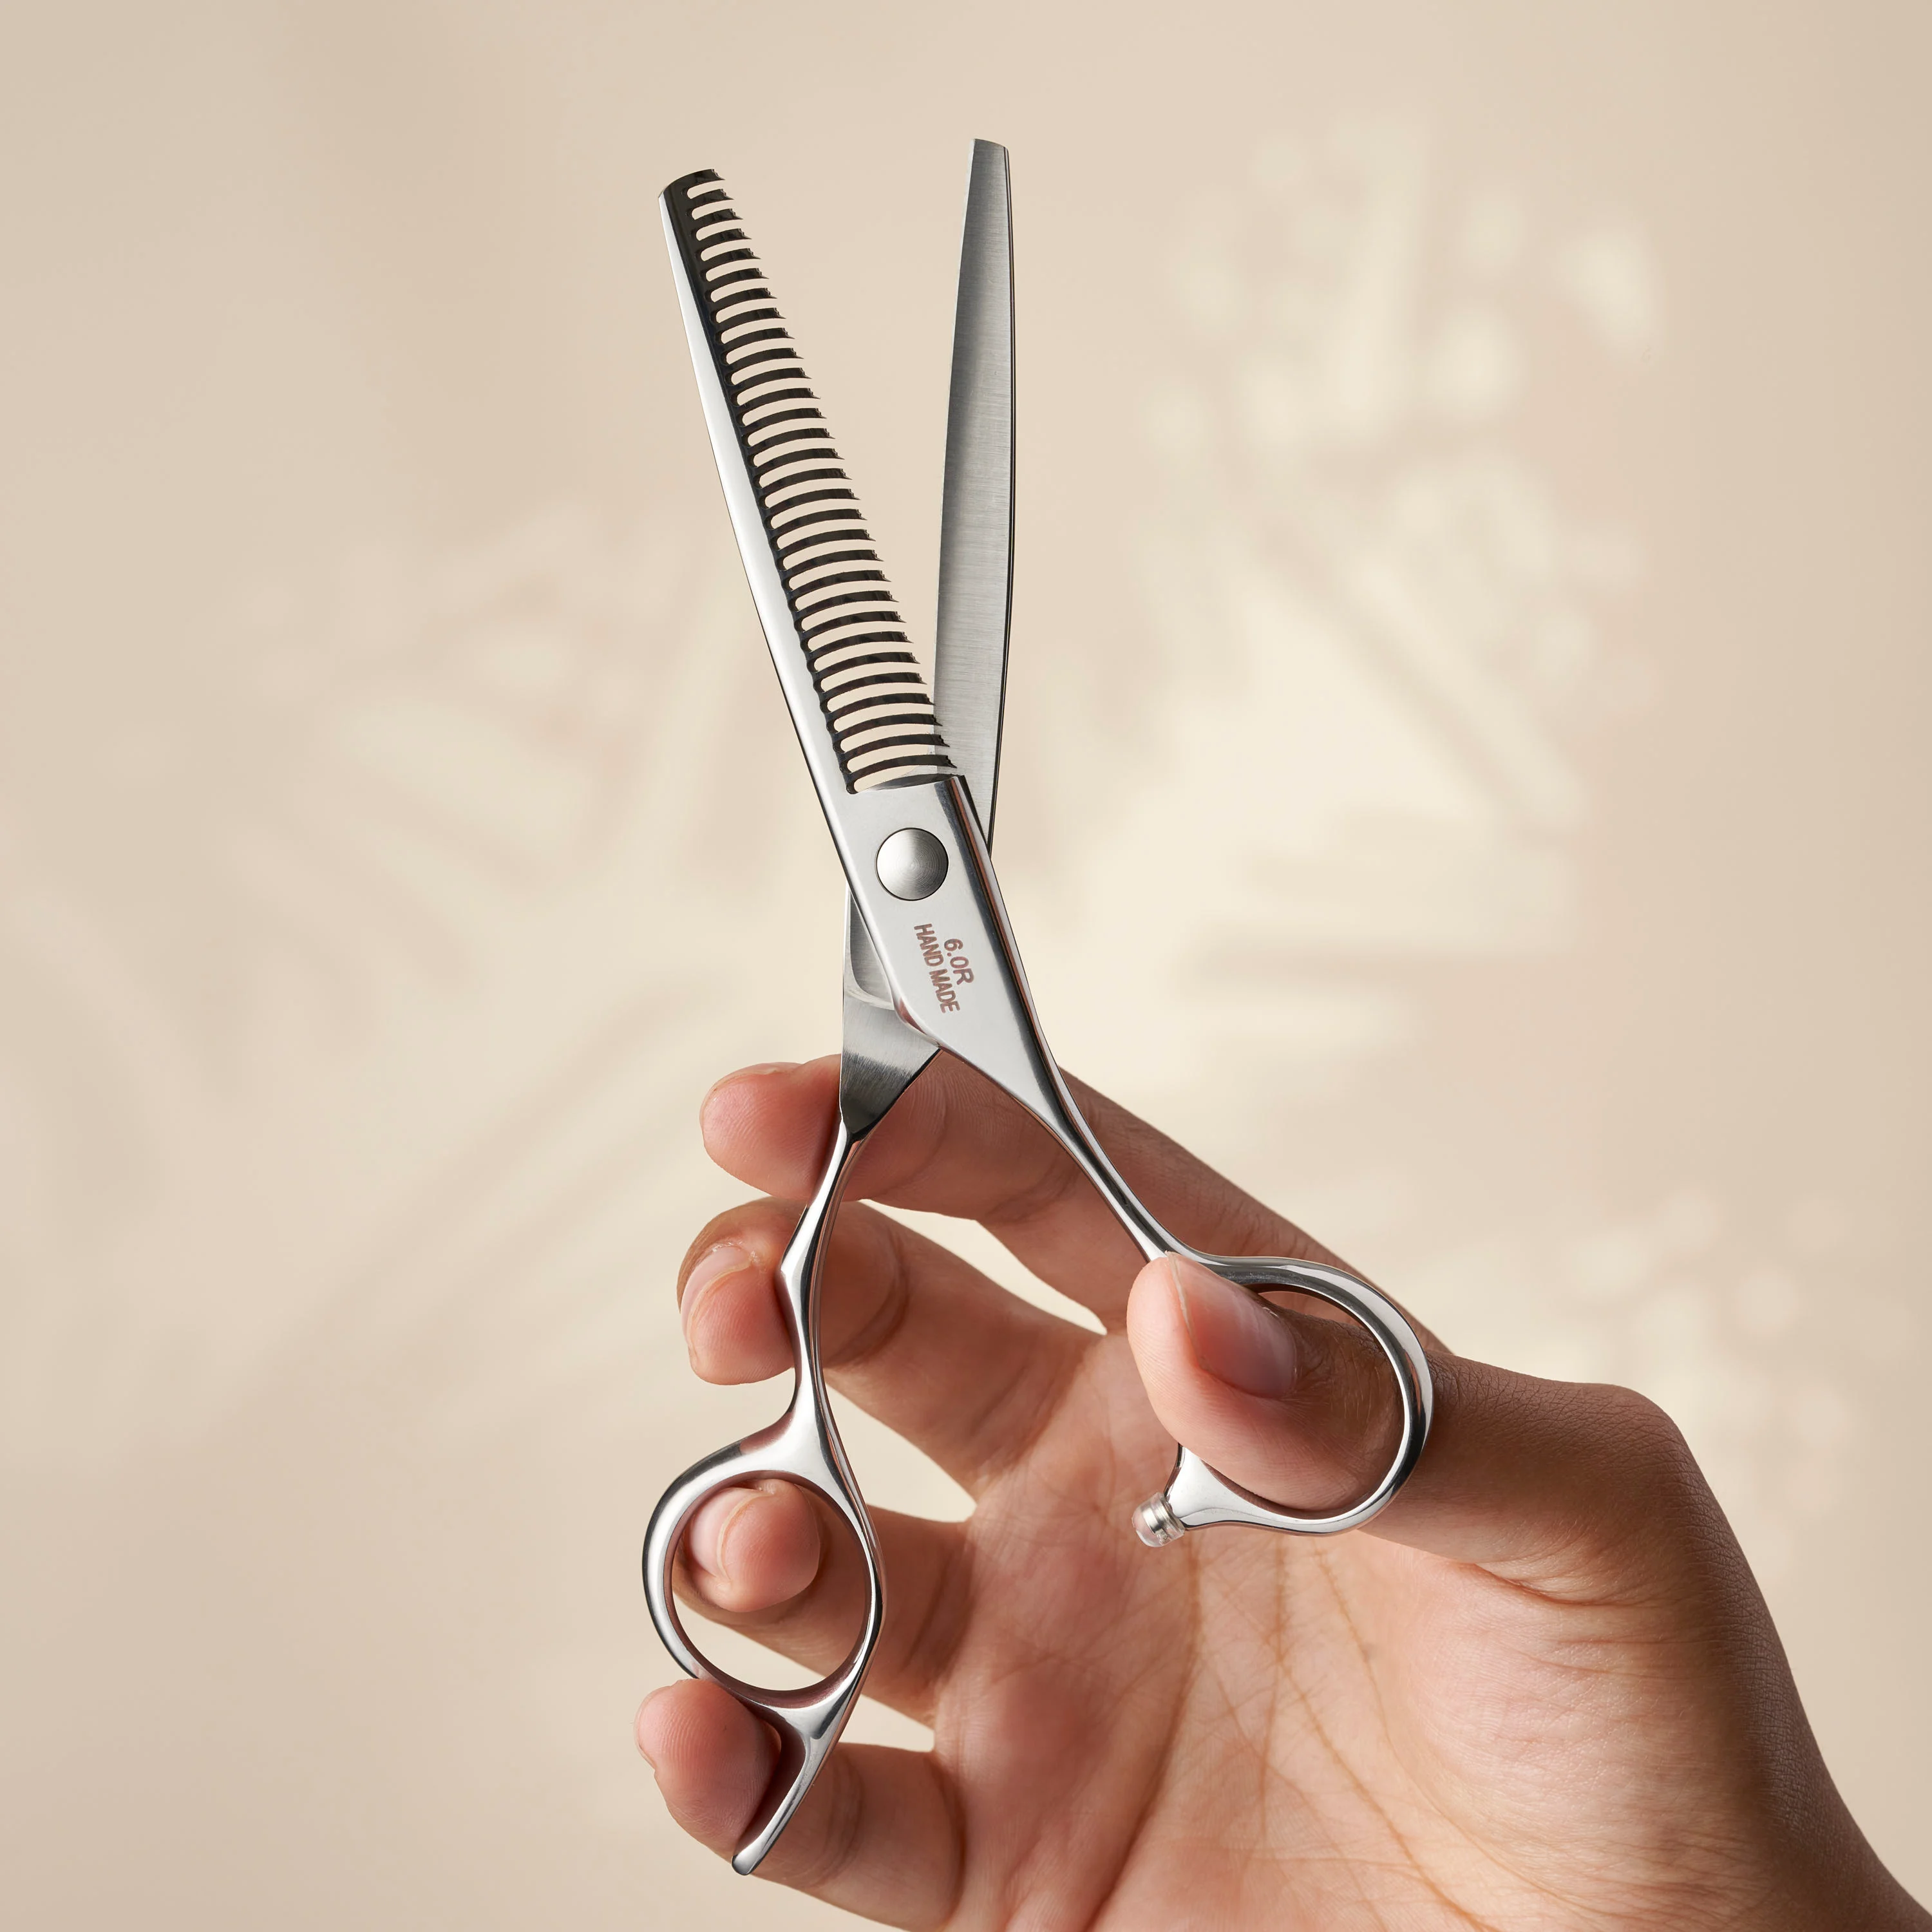
Texturising scissors help hairdressers control weight, soften lines and create movement without cutting every hair in a section. The right pair should match the result you want, feel comfortable in your hand and give you enough control to work gradually.
Quick answer
Begin with the outcome. Choose a professional texturising scissor for blending, softening and controlled weight removal. Every Leaf model combines curved teeth with micro-serrated tooth tips for slicing, point cutting and a more seamless finish.
They are often called thinning scissors, but the best way to choose is not by the label alone. Look at the tooth pattern, the amount of hair removed with each closure, the handle design and the techniques you plan to use.
Explore professional texturising scissors
What are texturising scissors?
Texturising scissors normally combine one toothed blade with one straight cutting blade. When the blades close, the teeth allow some hair to remain while selected strands are cut. This creates a different result from a cutting scissor, which cuts every hair between its blades.
Every Leaf texturising scissor has a curved tooth profile and a micro-serration at the tip of each tooth. This construction gives hairdressers the control to slice and point cut with the texturiser, while helping to minimise the risk of obvious lines for a more seamless finish.

Hairdressers use texturising scissors to:
- Remove controlled amounts of weight.
- Soften strong or blunt lines.
- Blend transitions between sections.
- Refine layers and internal shape.
- Create movement while protecting the overall outline.
The tool does not decide the result by itself. Section size, placement, angle, distance from the scalp and number of closures all influence the finish.
Are thinning scissors and texturising scissors the same?
The terms are often used interchangeably. In practice, professionals may use them to describe different tooth patterns or different levels of weight removal.
A finer tooth pattern is commonly used for subtle blending and softening. Wider spacing may remove more hair and create a more visible change. There is no universal naming system, so judge the tool by its tooth pattern, how it cuts and the result it is designed to create.
Leaf tip: Do not choose from the product name alone. Choose from the finish you need and how gradually you prefer to work.
How to choose professional texturising scissors
1. Start with the result
Decide whether your main priority is subtle blending, softening a perimeter, refining layers or removing more noticeable weight. A tool that feels controlled for finishing may not be the same tool you would choose for stronger internal weight removal.
2. Consider the tooth pattern
The number, width and spacing of the teeth affect how hair enters the scissor and how much is cut. More teeth often support a softer, more gradual result, while wider spacing can create stronger separation. Technique still matters, so avoid treating tooth count as a complete measure of performance.
Look beyond tooth count to the shape and finish of each tooth. Across the Leaf range, the teeth are curved and finished with micro-serration at the tips. The curved profile supports fluid slicing and point-cutting techniques, while the micro-serrated tips help control the hair as the blades close. Together, these details are designed to create a softer, more seamless result without obvious cutting lines.
A detail shared by every Leaf texturiser
Curved tooth profile: supports fluid slicing and point-cutting techniques.
Micro-serrated tooth tips: help control the hair as the blades close.
A more seamless finish: designed for softer transitions and reduced risk of obvious cutting lines.
3. Prioritise handle comfort
An offset handle can support a more open hand position during repeated use. The scissor should close smoothly without forcing the thumb or wrist. Comfort matters because texturising often involves careful placement and repeated assessment rather than one continuous cut.
4. Choose the correct hand
Left-handed professionals should choose a true left-handed texturising scissor where available. Correct blade and handle orientation support visibility, control and a more natural closing movement.
Black Edition, Pure Steel and Pink Edition texturising scissors are currently available in right- and left-handed options.
5. Choose professional materials and finishing
Steel quality contributes to edge retention and durability, but balance, alignment, tension and finishing also shape the experience in your hand. Choose the complete tool rather than relying on one material claim.
Which Leaf texturising scissors are right for you?
Black Edition, Pure Steel and Pink Edition all share Leaf's curved tooth profile and micro-serrated tooth tips. Choose between them by finish, hand preference and how you want the scissor to sit alongside the rest of your kit.

Black Edition
Japanese steel, an offset handle and Leaf's distinctive black finish for controlled professional use.
Choose it if: you want a premium coated finish and a coordinated Black Edition kit.
Pure Steel
Japanese steel with a clean, uncoated finish and an ergonomic offset handle.
Choose it if: you prefer a classic steel finish or are building a coordinated Pure Steel kit.

Pink Edition
Japanese steel, offset comfort and Leaf's hot-pink finish for a bolder professional kit.
Choose it if: you want professional texturising performance with a more expressive finish.
Compare all Leaf texturising scissors
How to use texturising scissors with control
Texturising is easiest to refine when you work gradually and keep the intended shape in view.
- Decide what you are changing before you begin: weight, line, transition or movement.
- Work with manageable sections and keep consistent tension.
- Position the scissor according to the result. Leaf's curved, micro-serrated teeth also allow controlled slicing and point cutting where those techniques suit the shape.
- Make fewer closures than you think you need, then release and reassess the hair.
- Check the result in its natural fall before removing more.
- Keep your work balanced across the shape rather than concentrating repeatedly in one area.
Whether you work on dry or damp hair depends on your technique, the hair and how clearly you need to see the final movement. Dry hair can make weight distribution and natural fall easier to assess. Damp hair may support control for other methods. Follow your training and the result you are creating.
Common texturising mistakes to avoid
Removing too much in one area
Repeated closures can create gaps, collapse support or make the shape difficult to control. Work gradually and reassess often.
Working too close to the scalp without a clear technique
Short internal pieces can affect support, movement and how the hair grows out. Placement should always be deliberate and appropriate to the haircut.
Treating every hair type in the same way
Density, texture, curl pattern, condition and desired finish all influence how much hair should be removed. Texturising is not automatically the right answer for every section or every client.
Using a texturiser to correct an unfinished foundation cut
Build the shape with your cutting scissor first. Use the texturiser to refine weight, transition and finish, not to disguise an unclear structure.
How to care for texturising scissors
- Wipe the blades and teeth after use to remove hair and product residue.
- Use suitable scissor oil around the pivot.
- Check that the tension feels smooth rather than loose or overly tight.
- Store the scissor in a protective case where the teeth cannot be knocked.
- Do not use professional scissors on paper, packaging or other materials.
- Arrange specialist sharpening or servicing if the scissor pulls, folds, catches or no longer closes cleanly.
Texturising blades need specialist attention because the toothed blade and cutting blade must work together correctly. Leaf's professional scissor sharpening service includes dismantling, cleaning, hand sharpening, oiling and testing.
Texturising scissors FAQs
What makes the teeth on Leaf texturising scissors different?
Every Leaf texturising scissor has curved teeth with micro-serration at each tooth tip. The curved profile allows the scissor to be used for slicing and point cutting, while the micro-serrated tips help control the hair and reduce the risk of obvious lines for a more seamless finish.
Can texturising scissors be used on every hair type?
They can be used across many hair types, but the technique and amount of hair removed must respond to density, texture, curl pattern, condition and the intended result. They are not automatically suitable for every section.
Should texturising scissors be used on wet or dry hair?
Both approaches are used professionally. Dry hair makes natural fall and weight distribution easier to see, while damp hair may suit other controlled techniques. Choose according to your training and the result you need.
How much hair do texturising scissors remove?
There is no single percentage for every model. Tooth pattern, section size, placement and technique all affect the amount removed. Work gradually and assess after each closure.
Do left-handed hairdressers need left-handed texturising scissors?
Yes, where possible. A true left-handed design supports natural hand movement, visibility and control. Leaf's Black Edition, Pure Steel and Pink Edition texturisers have right- and left-handed options.
How often should texturising scissors be sharpened?
Sharpen according to performance rather than a fixed date. Pulling, catching, folding hair or a rough closing action are signs that professional servicing may be needed. Workload and maintenance affect the interval.
Find the texturising scissors that suit your technique
The best texturising scissor is the one that gives you control over the finish you create.


